Crown Royal dates back to 1939, when Seagram’s introduced a new product in honor of the first ever visit from Britain’s reigning monarchs.
In the middle of COVID-19 quarantining, I was approached by a dear friend to take his Crown Royal bags and turn them into face masks.
I saw a number of different people doing this with varying degrees of quality, so I decided to task myself with finding a pattern and method that would display the text with prominence but also render a sturdy, well-fitting mask.
Pleats were out of the question because 1) they use more fabric than afforded by the bags, and 2) the text would probably be hidden.
Darts were only really called for if the front piece of the mask were a single cut of fabric (and given the composition of the bags of two wide pieces separated by two narrow pieces, this would be impossible – even if I were to use one of the gold serged/overlocked seams as that center line)
The clear choice was to create a two-part mask piece using the wide front and back panels of the bag. An alternate fabric would them be used to create the interior layer.
Having referenced the makemasks2020.org website when I first started making masks for local healthcare workers, I browsed through their pattern collection. I ended up with the following: https://www.craftpassion.com/wp-content/uploads/2013/08/face-mask-pattern-rev3.pdf
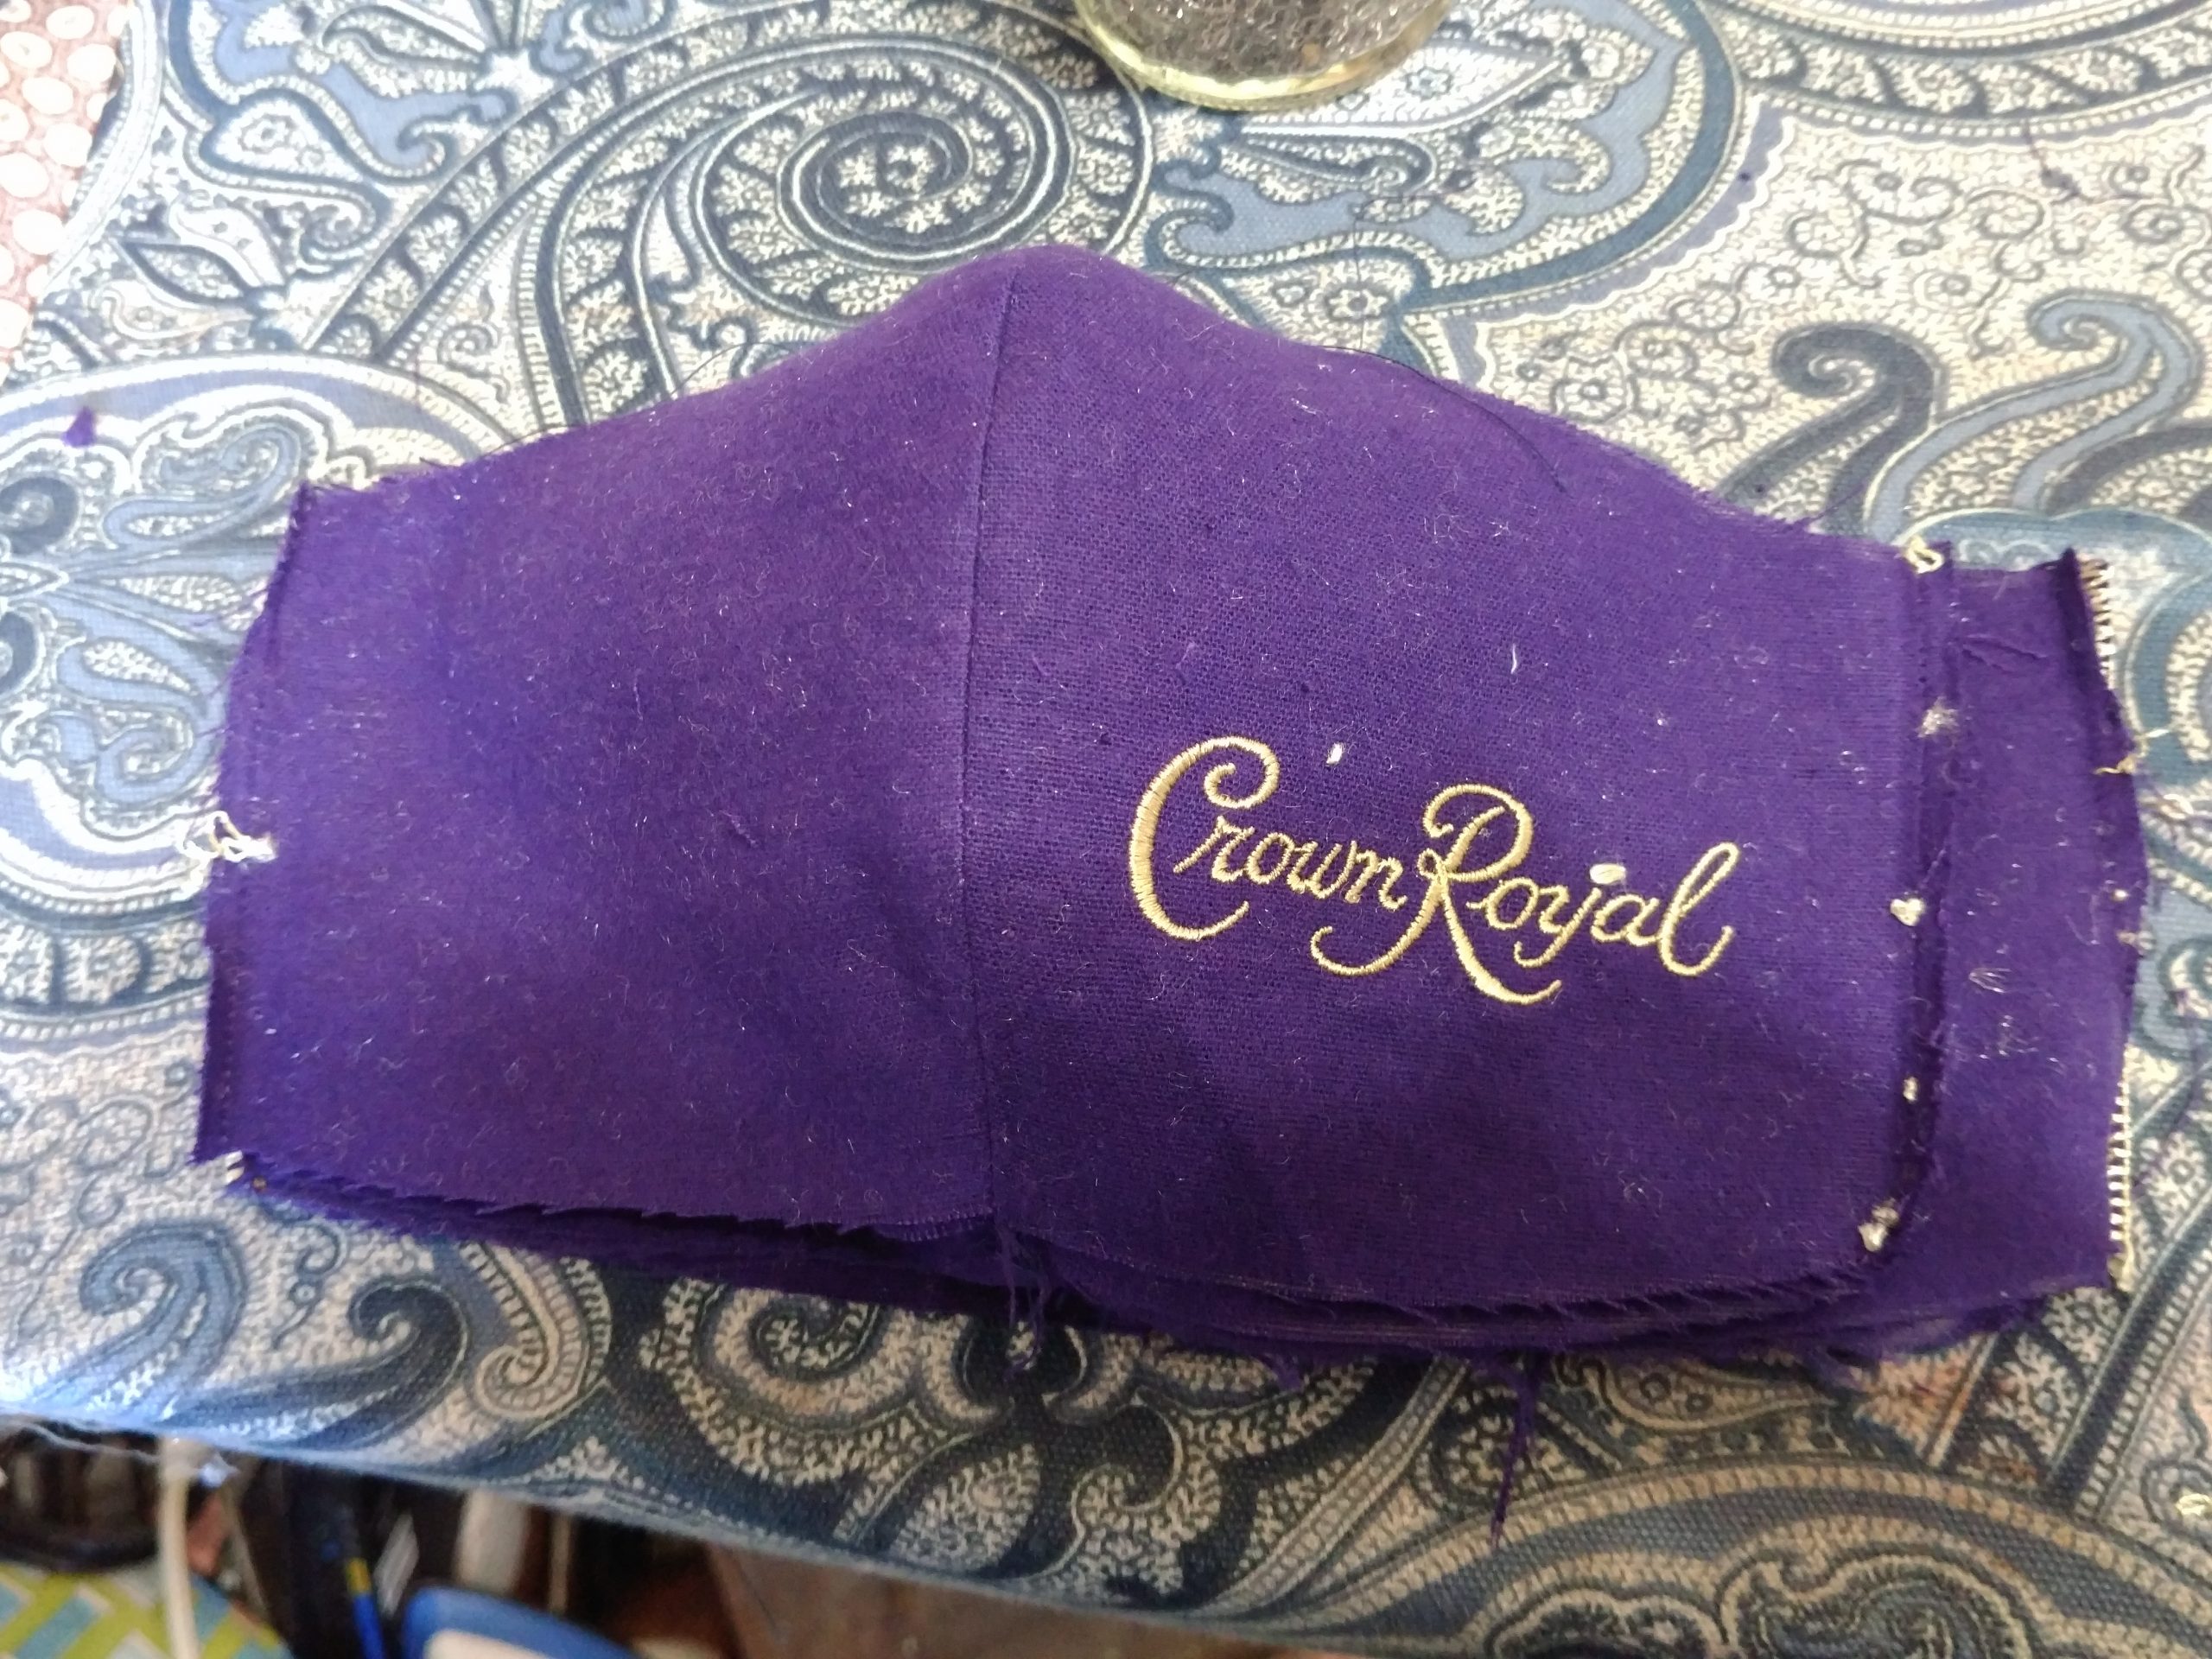
I cut out the largest size (note: seam allowances are NOT included) and then worked out the best placement for the text, making a crease on the pattern where the base of the text should align.
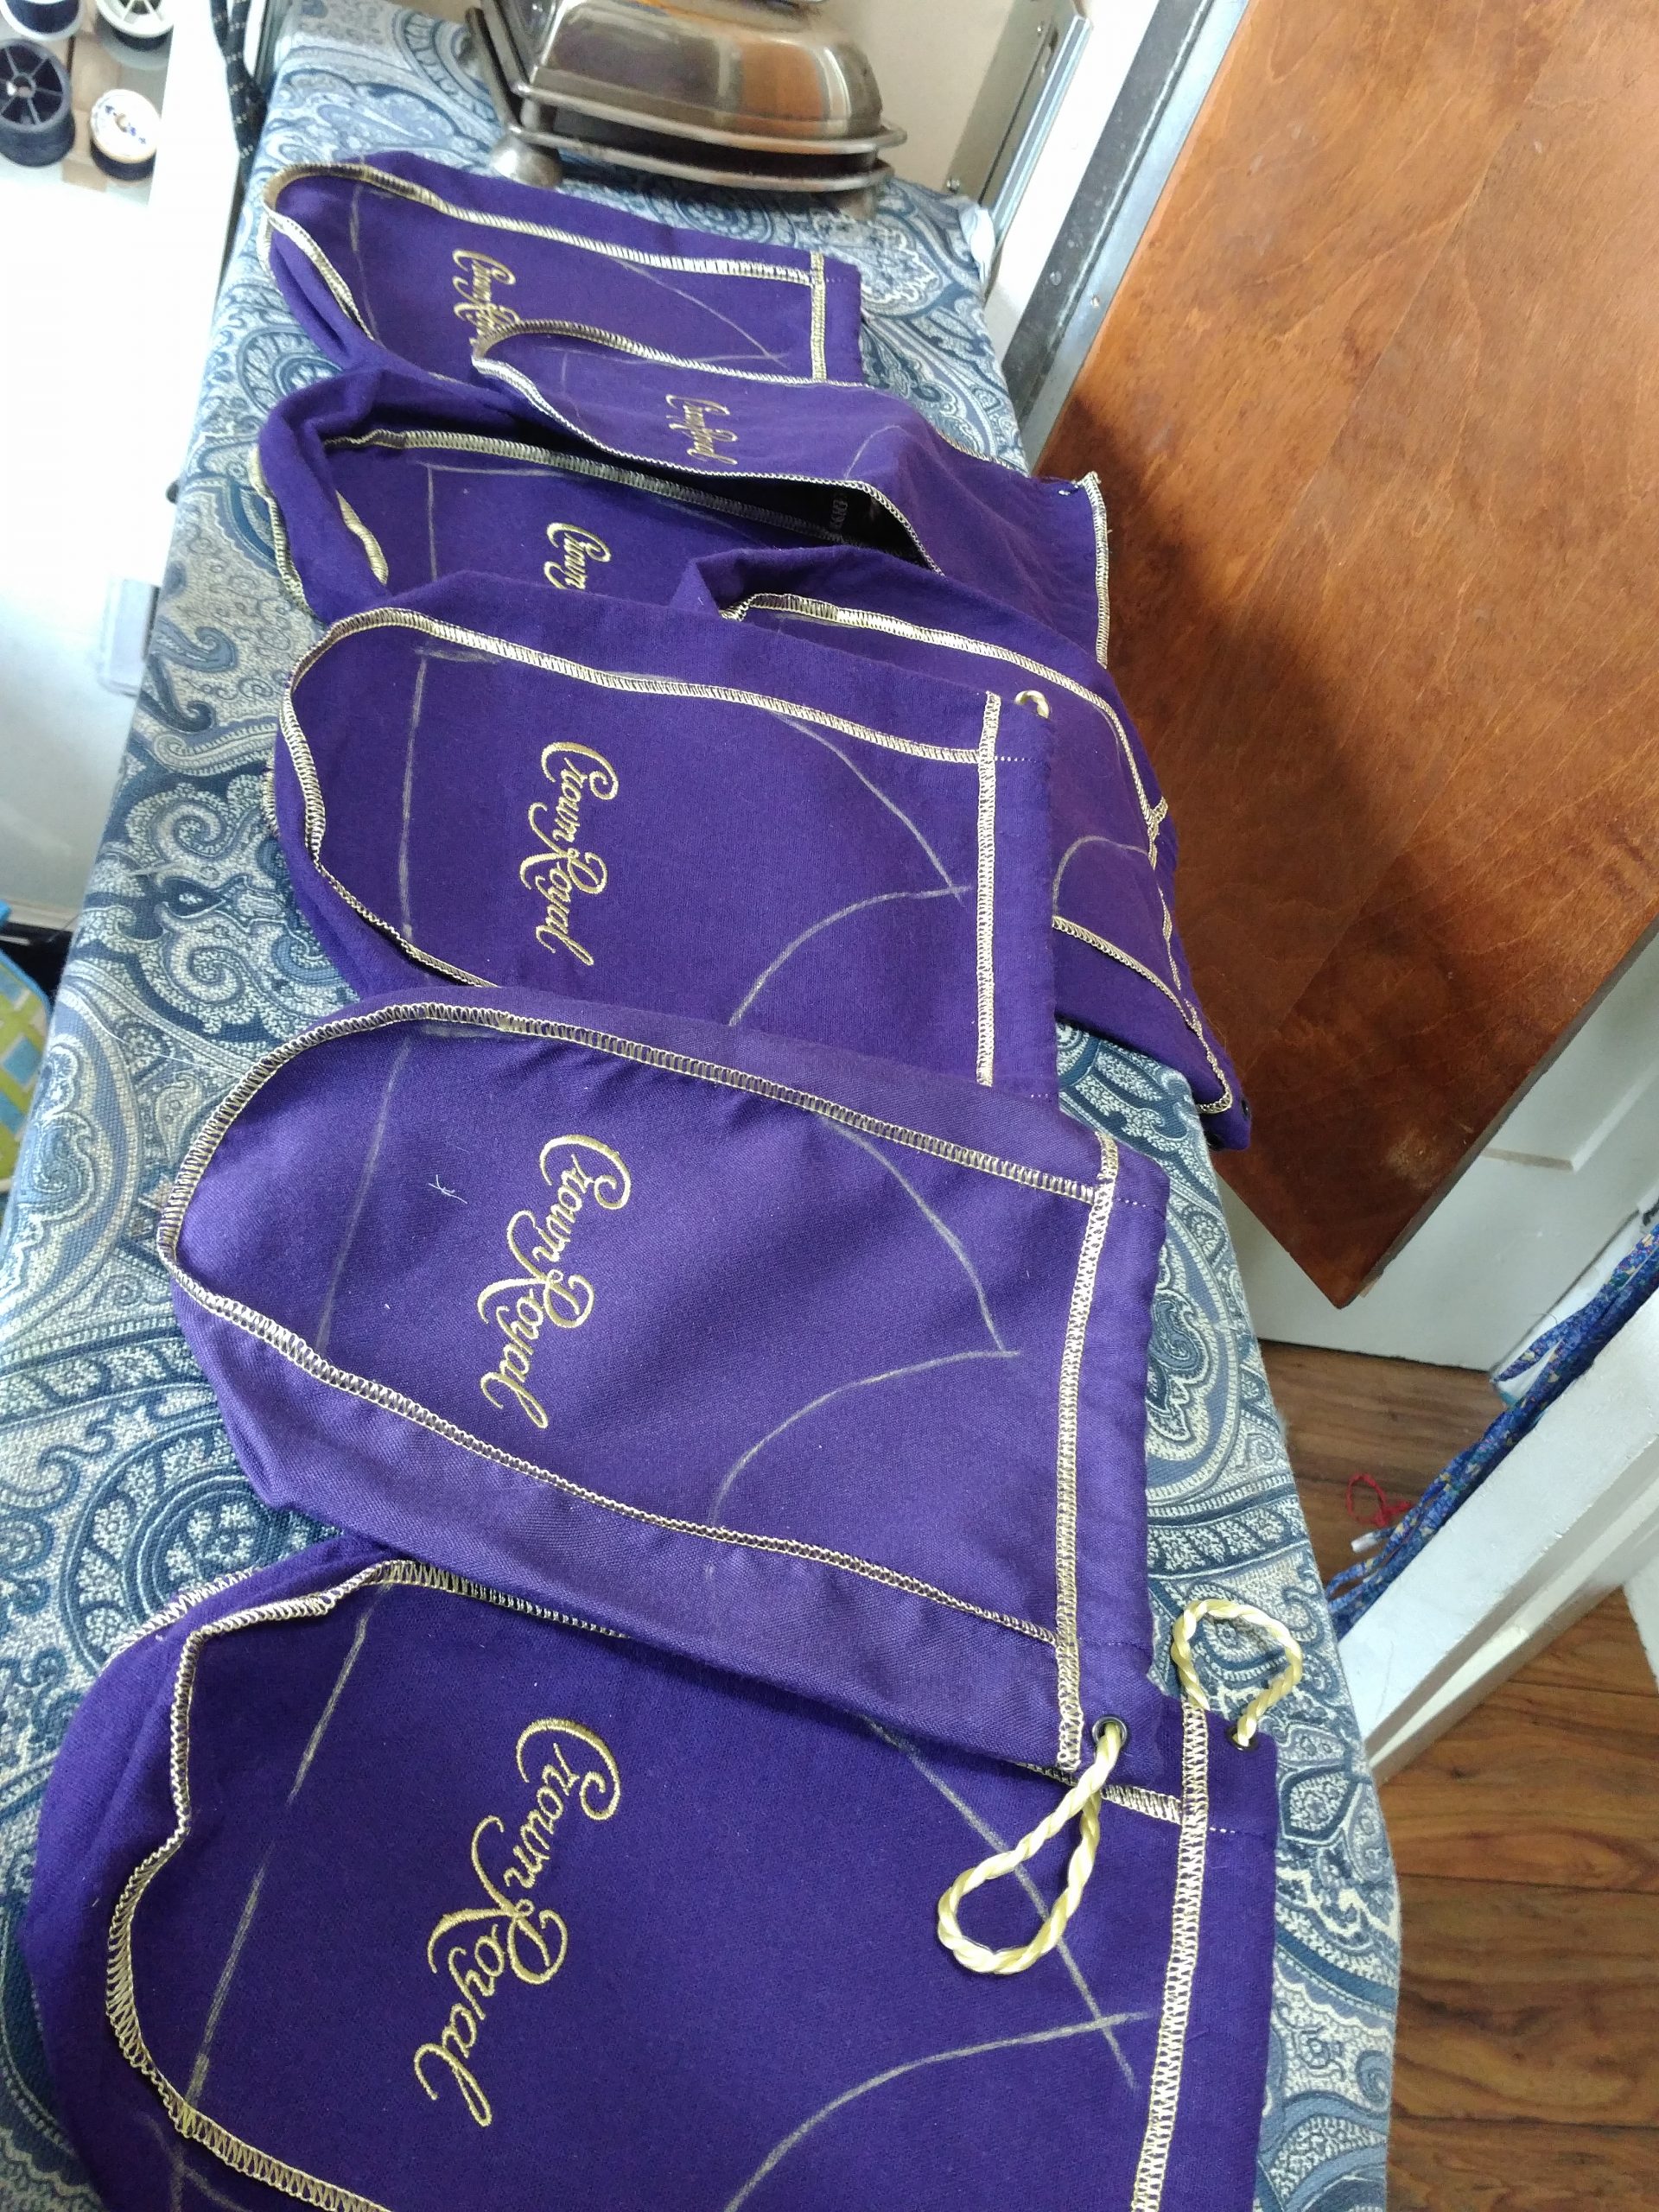
The text was not in the same place from bag to bag, and some panels were wider (or narrower) than others, so I had to be creative. Yes, I did take the time to manually remove some of the serged edges to reclaim as much usable fabric as possible.
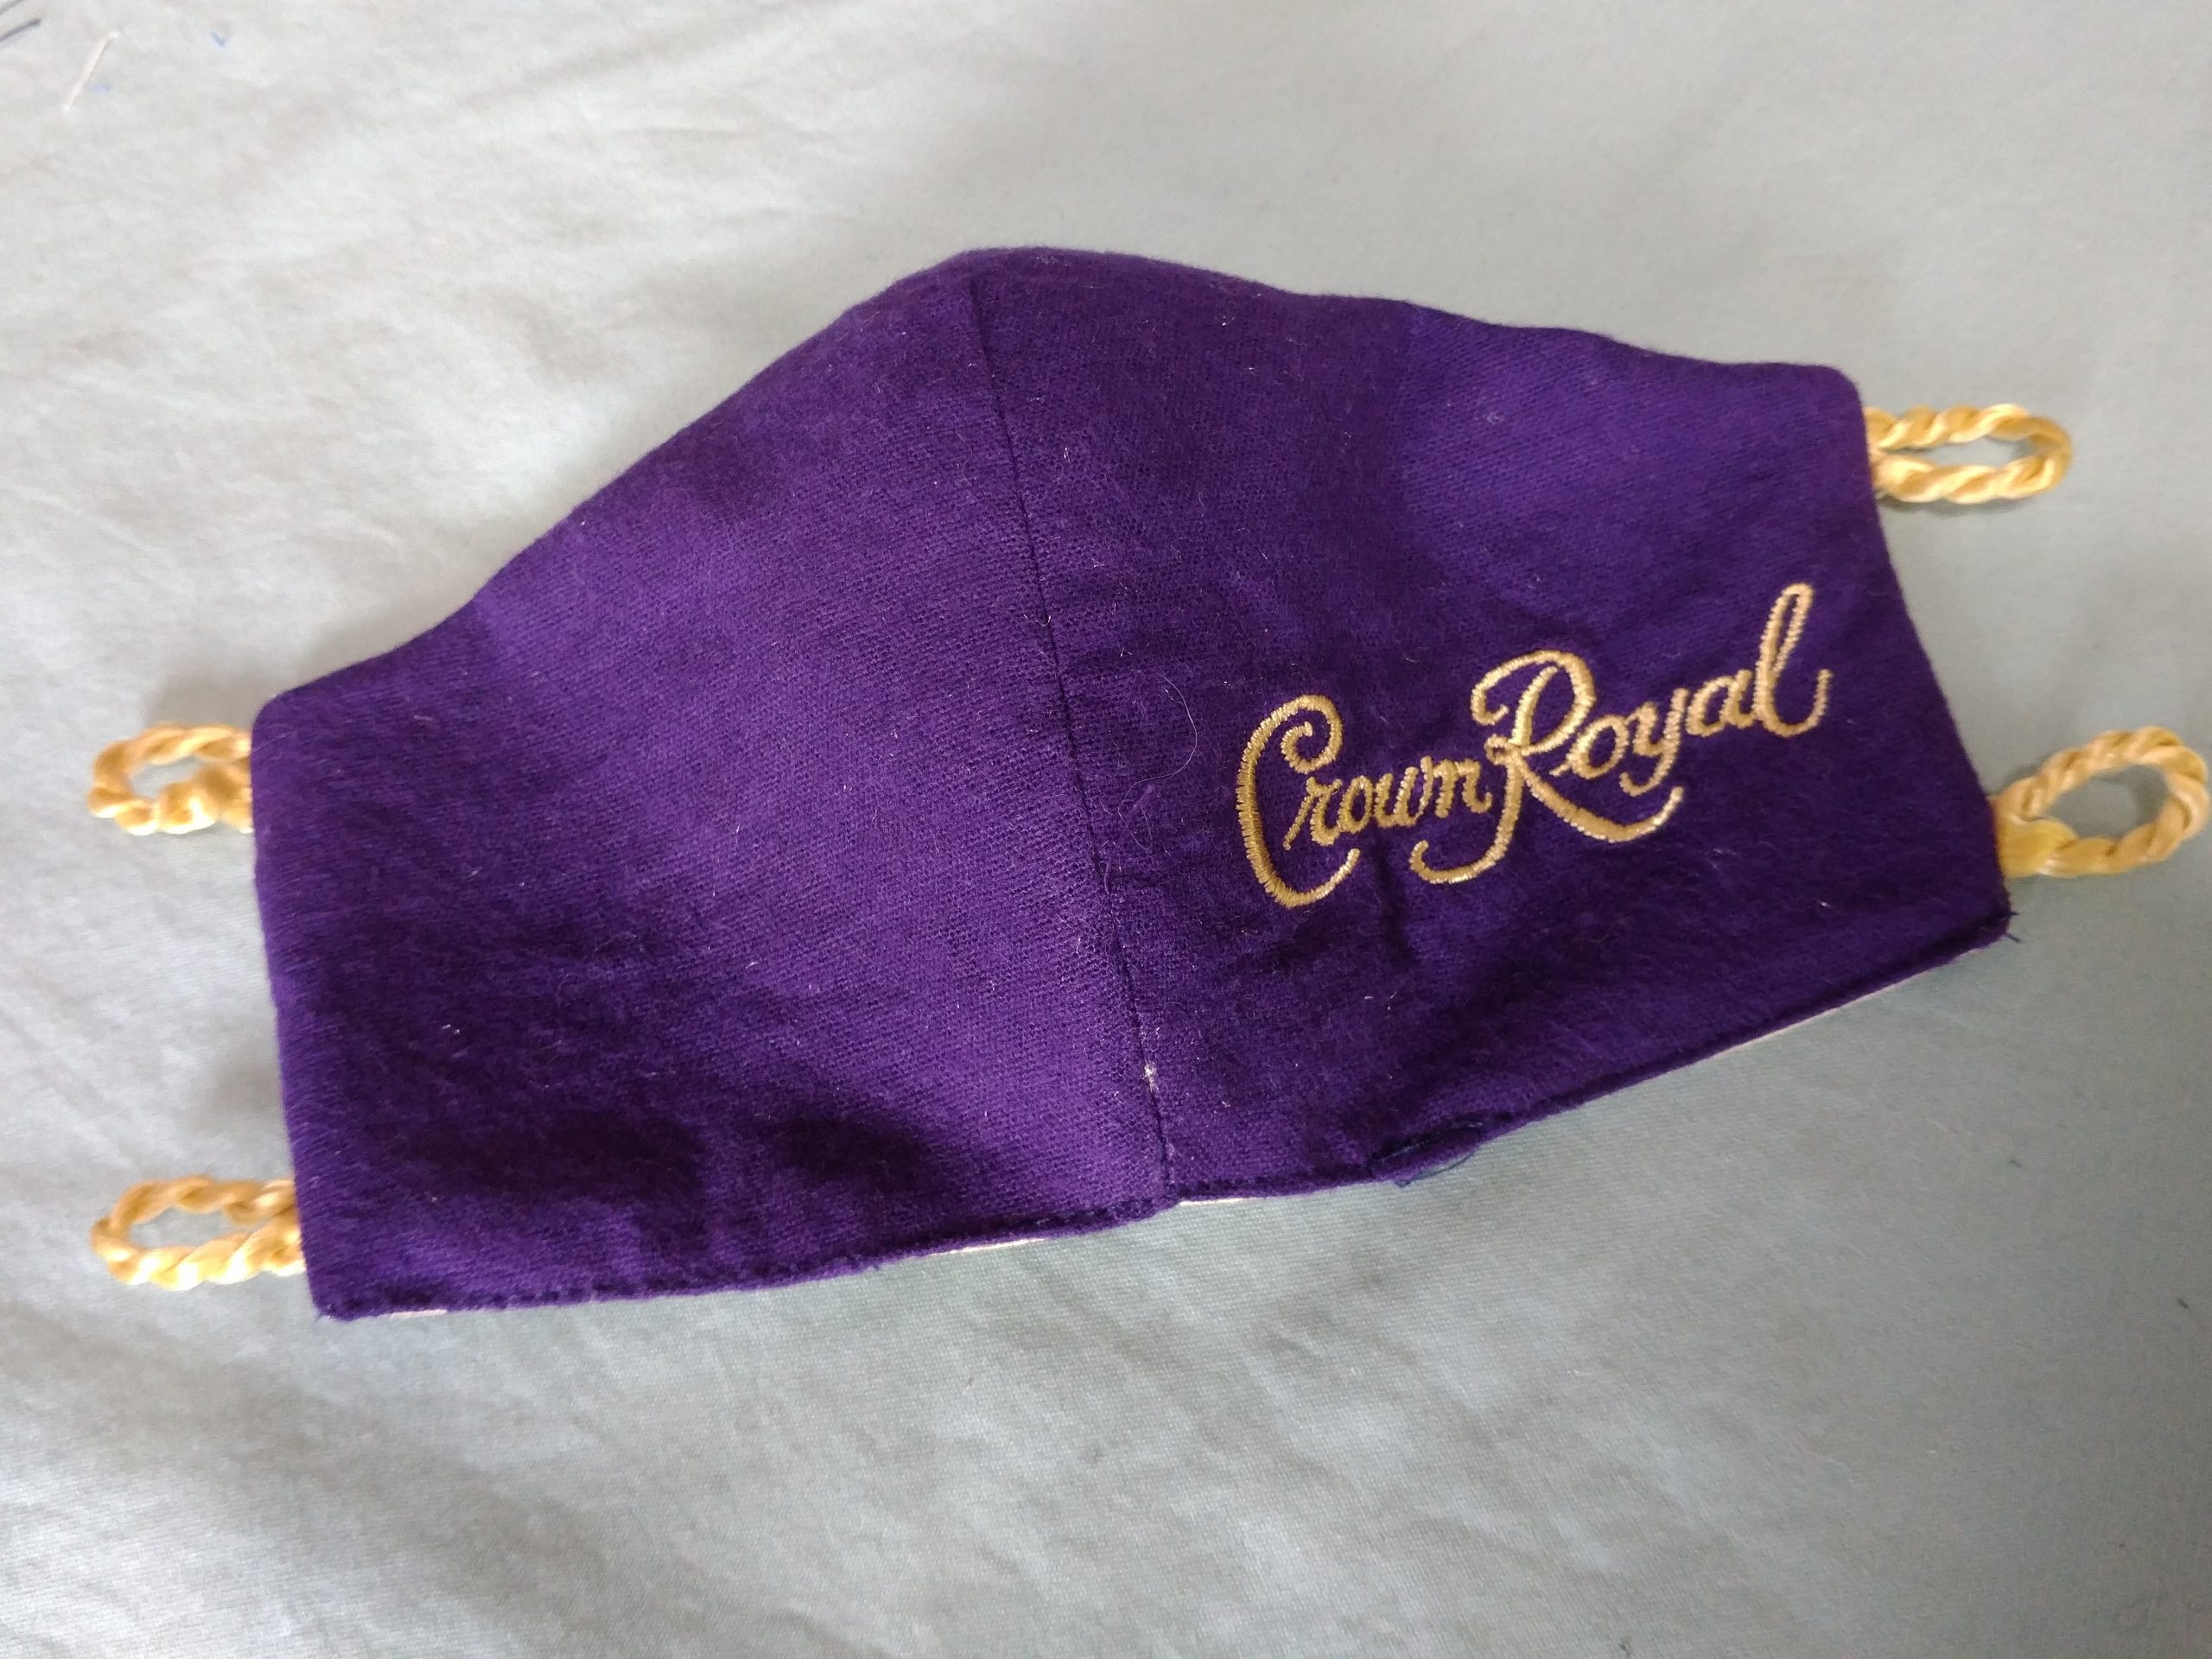
I elected to place the text on the right panel, but you could place it on the left if you wanted.
A video tutorial is available on YouTube, but brief photo-documentation is provided below.
Below shows the pattern template drawn onto the bags.
The tops were cut off of the bags, and the pieces cut out
The process was repeated on the back panel, and then the two parts were sewn together, right sides facing each other.
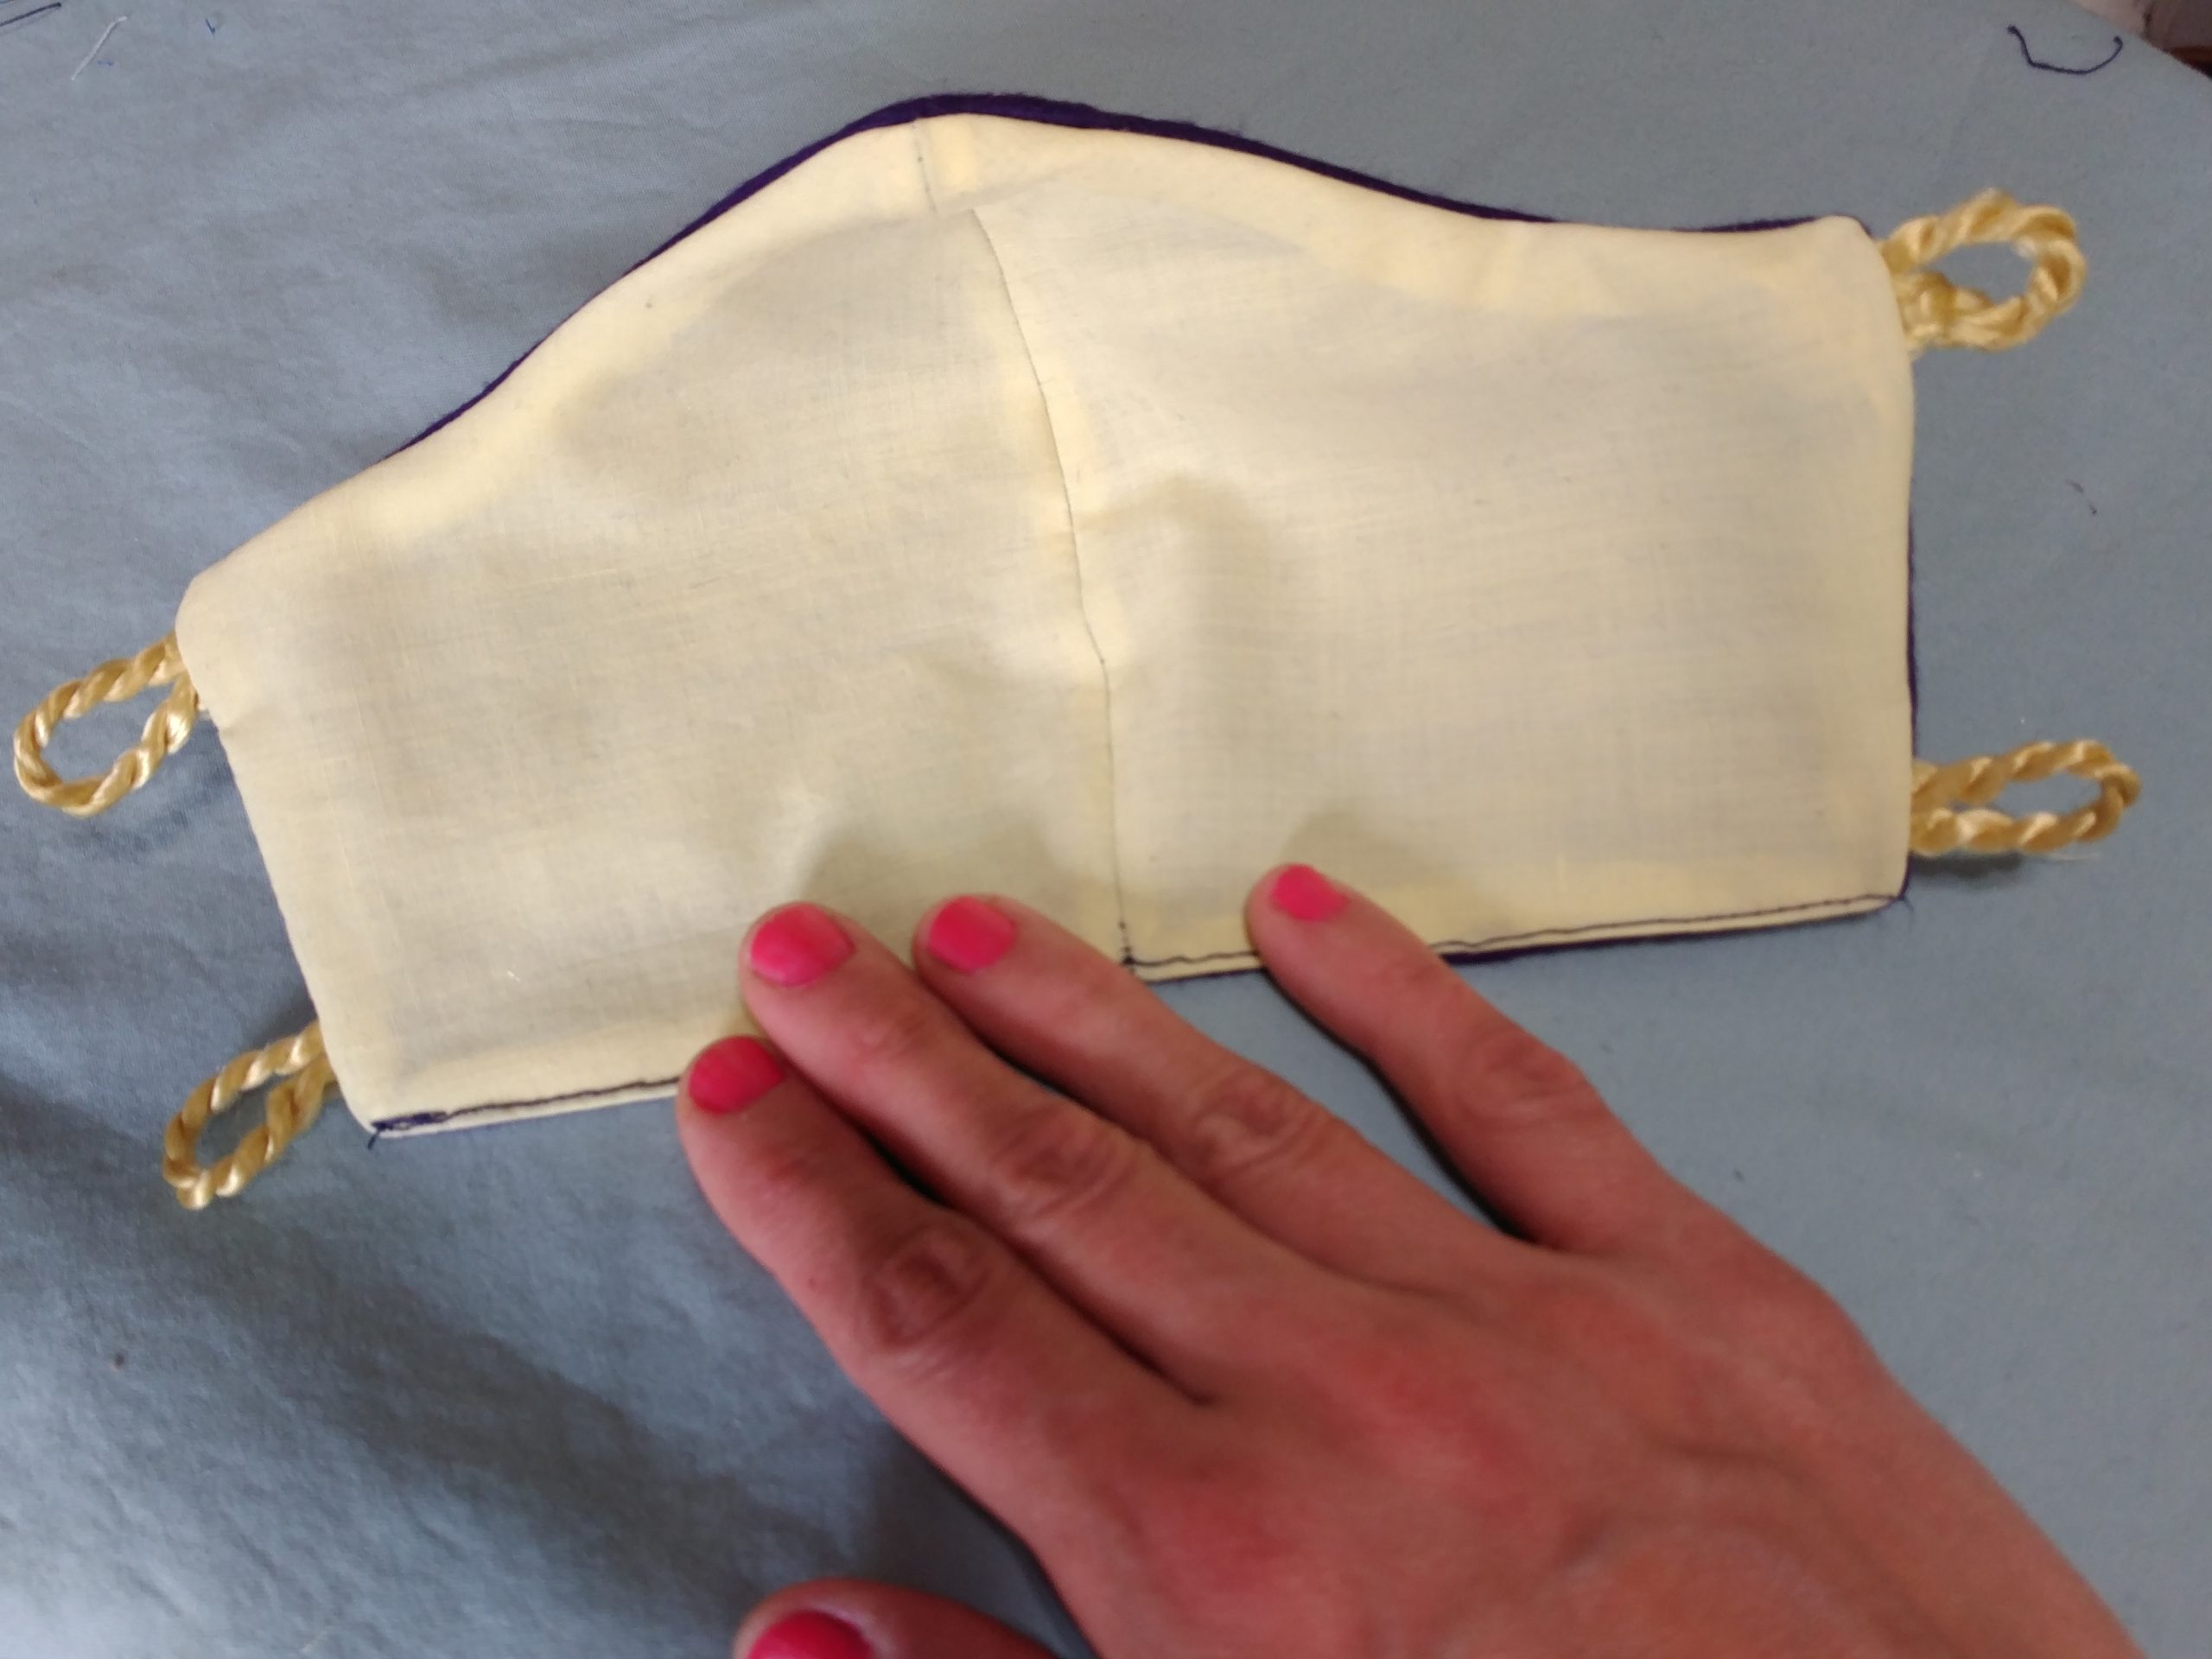
The same process exactly was repeated with the lining fabric.
Two cuts sewn together.
These pieces were then ironed and paired face/lining with right sides facing.
I used the gold cord to make loops onto which elastic or ties could be attached. The ends of the cord were melted together with a lighter before being placed between the layers.